Review: GL-iNet Beryl MT1300 Travel Router (Apple TV on a VPN)
Published on Jan 14, 2021
This is a short review of a new gadget I recently purchased. I sometimes have the need to route my Apple TV's traffic through a VPN. This can be for simple geolocation issues but also to prevent ISPs throttling IPTV traffic.
The Apple TV currently doesn't support running a VPN directly on the device. If it would be possible it wouldn't be that useful as apps could then check if a VPN is running and refuse to work. The solution is to move the VPN one layer up so the Apple TV (or any other device) is just connected to a network and don't know anything about the VPN.
There are multiple ways to achieve that, I tried some of them but decided against them after testing.
Integrated Internet Sharing on macOS
This is a feature of macOS that allows your Mac that’s connected to the internet with a wired connection to act as an access point providing WiFi to other devices. This works but I couldn’t figure out how to redirect traffic through the VPN running on the Mac. After playing around with ipfw and L2TP I couldn’t get it to work and moved on. It sometimes worked but wasn't stable or fast enough.
Provisioning the Apple TV with a custom Network proxy profile via the Apple Configurator
This worked but some apps didn’t work or realized they were on a proxy or VPN. I suspect the OS is telling the apps that a Proxy Profile is running. In my test case I used authenticated HTTP proxies.
Raspberry Pi
I thought about using a Raspberry Pi that’s on a wired connection, connecting it to a VPN and sharing this connection via WiFi with the Apple TV. There’s multiple ways to do that but setting up a VPN, updating and monitoring this sounded like work I didn't want to do.
In the end I wanted the Raspberry Pi solution but in a nicely packaged version where I don’t have to play system administrator.
Solution
After more research I found GL-iNet, a Hong Kong based company building all kinds of devices like that.
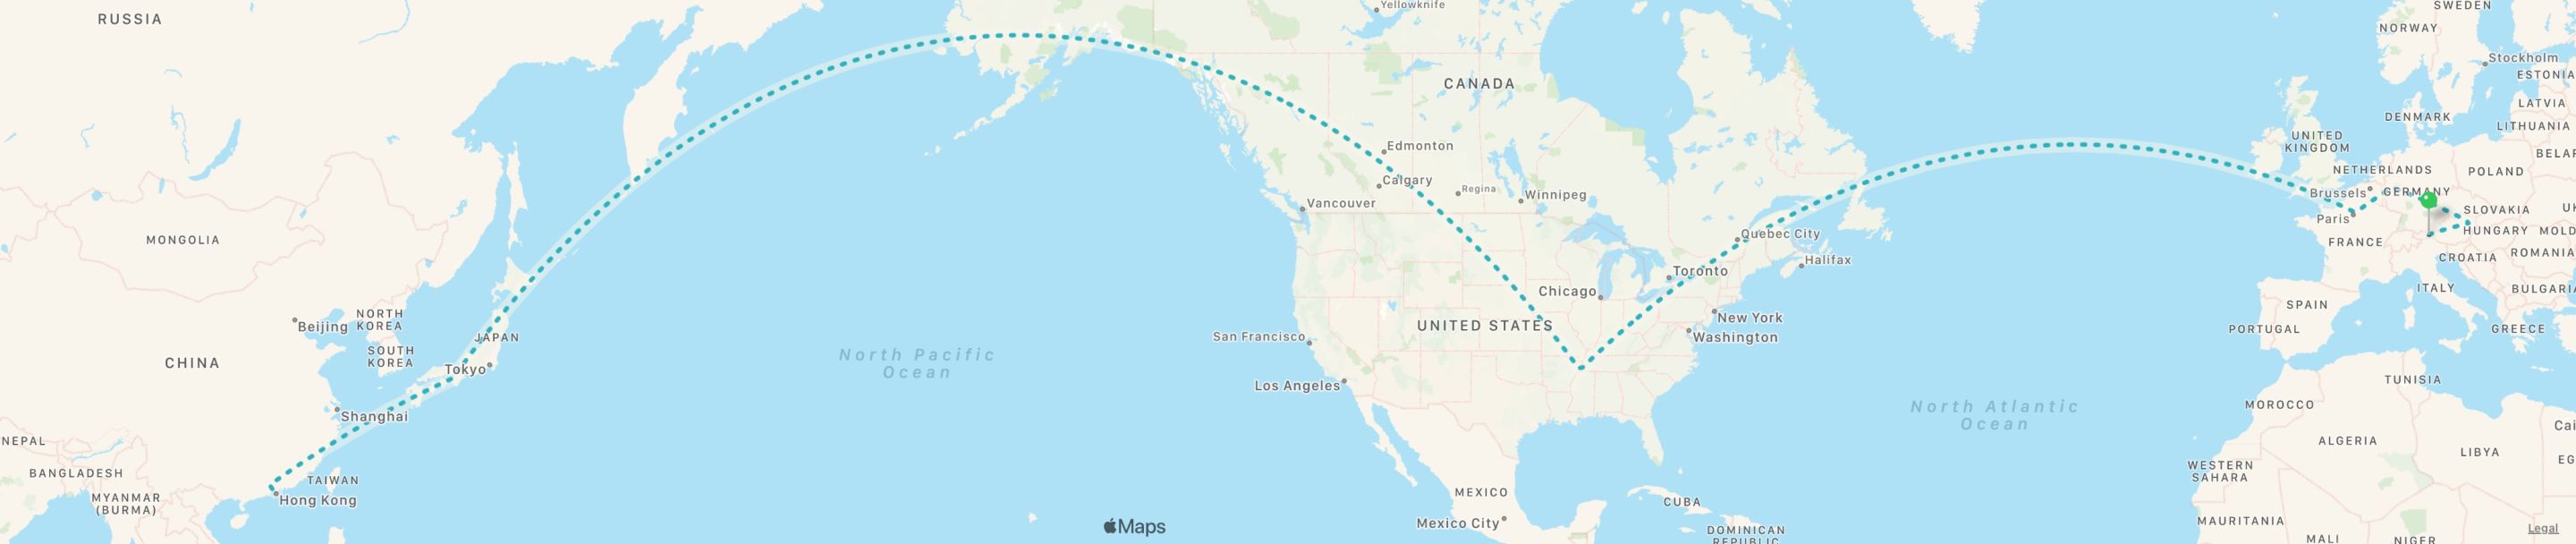
I pre-ordered the new Beryl MT1300 Travel Router and after a trip around the world it arrived after a few weeks.
Setup
The setup was straight forward. Connect to power with the included USB-C power adapter and plug Ethernet cable to the WAN port of the Beryl. Wait a 1-2 minutes until it started up and then connect to the pre-configured WiFi with the GL-MT1300 SSID.
There are easy to follow printed instructions (and stickers) included that make all of this a breeze.
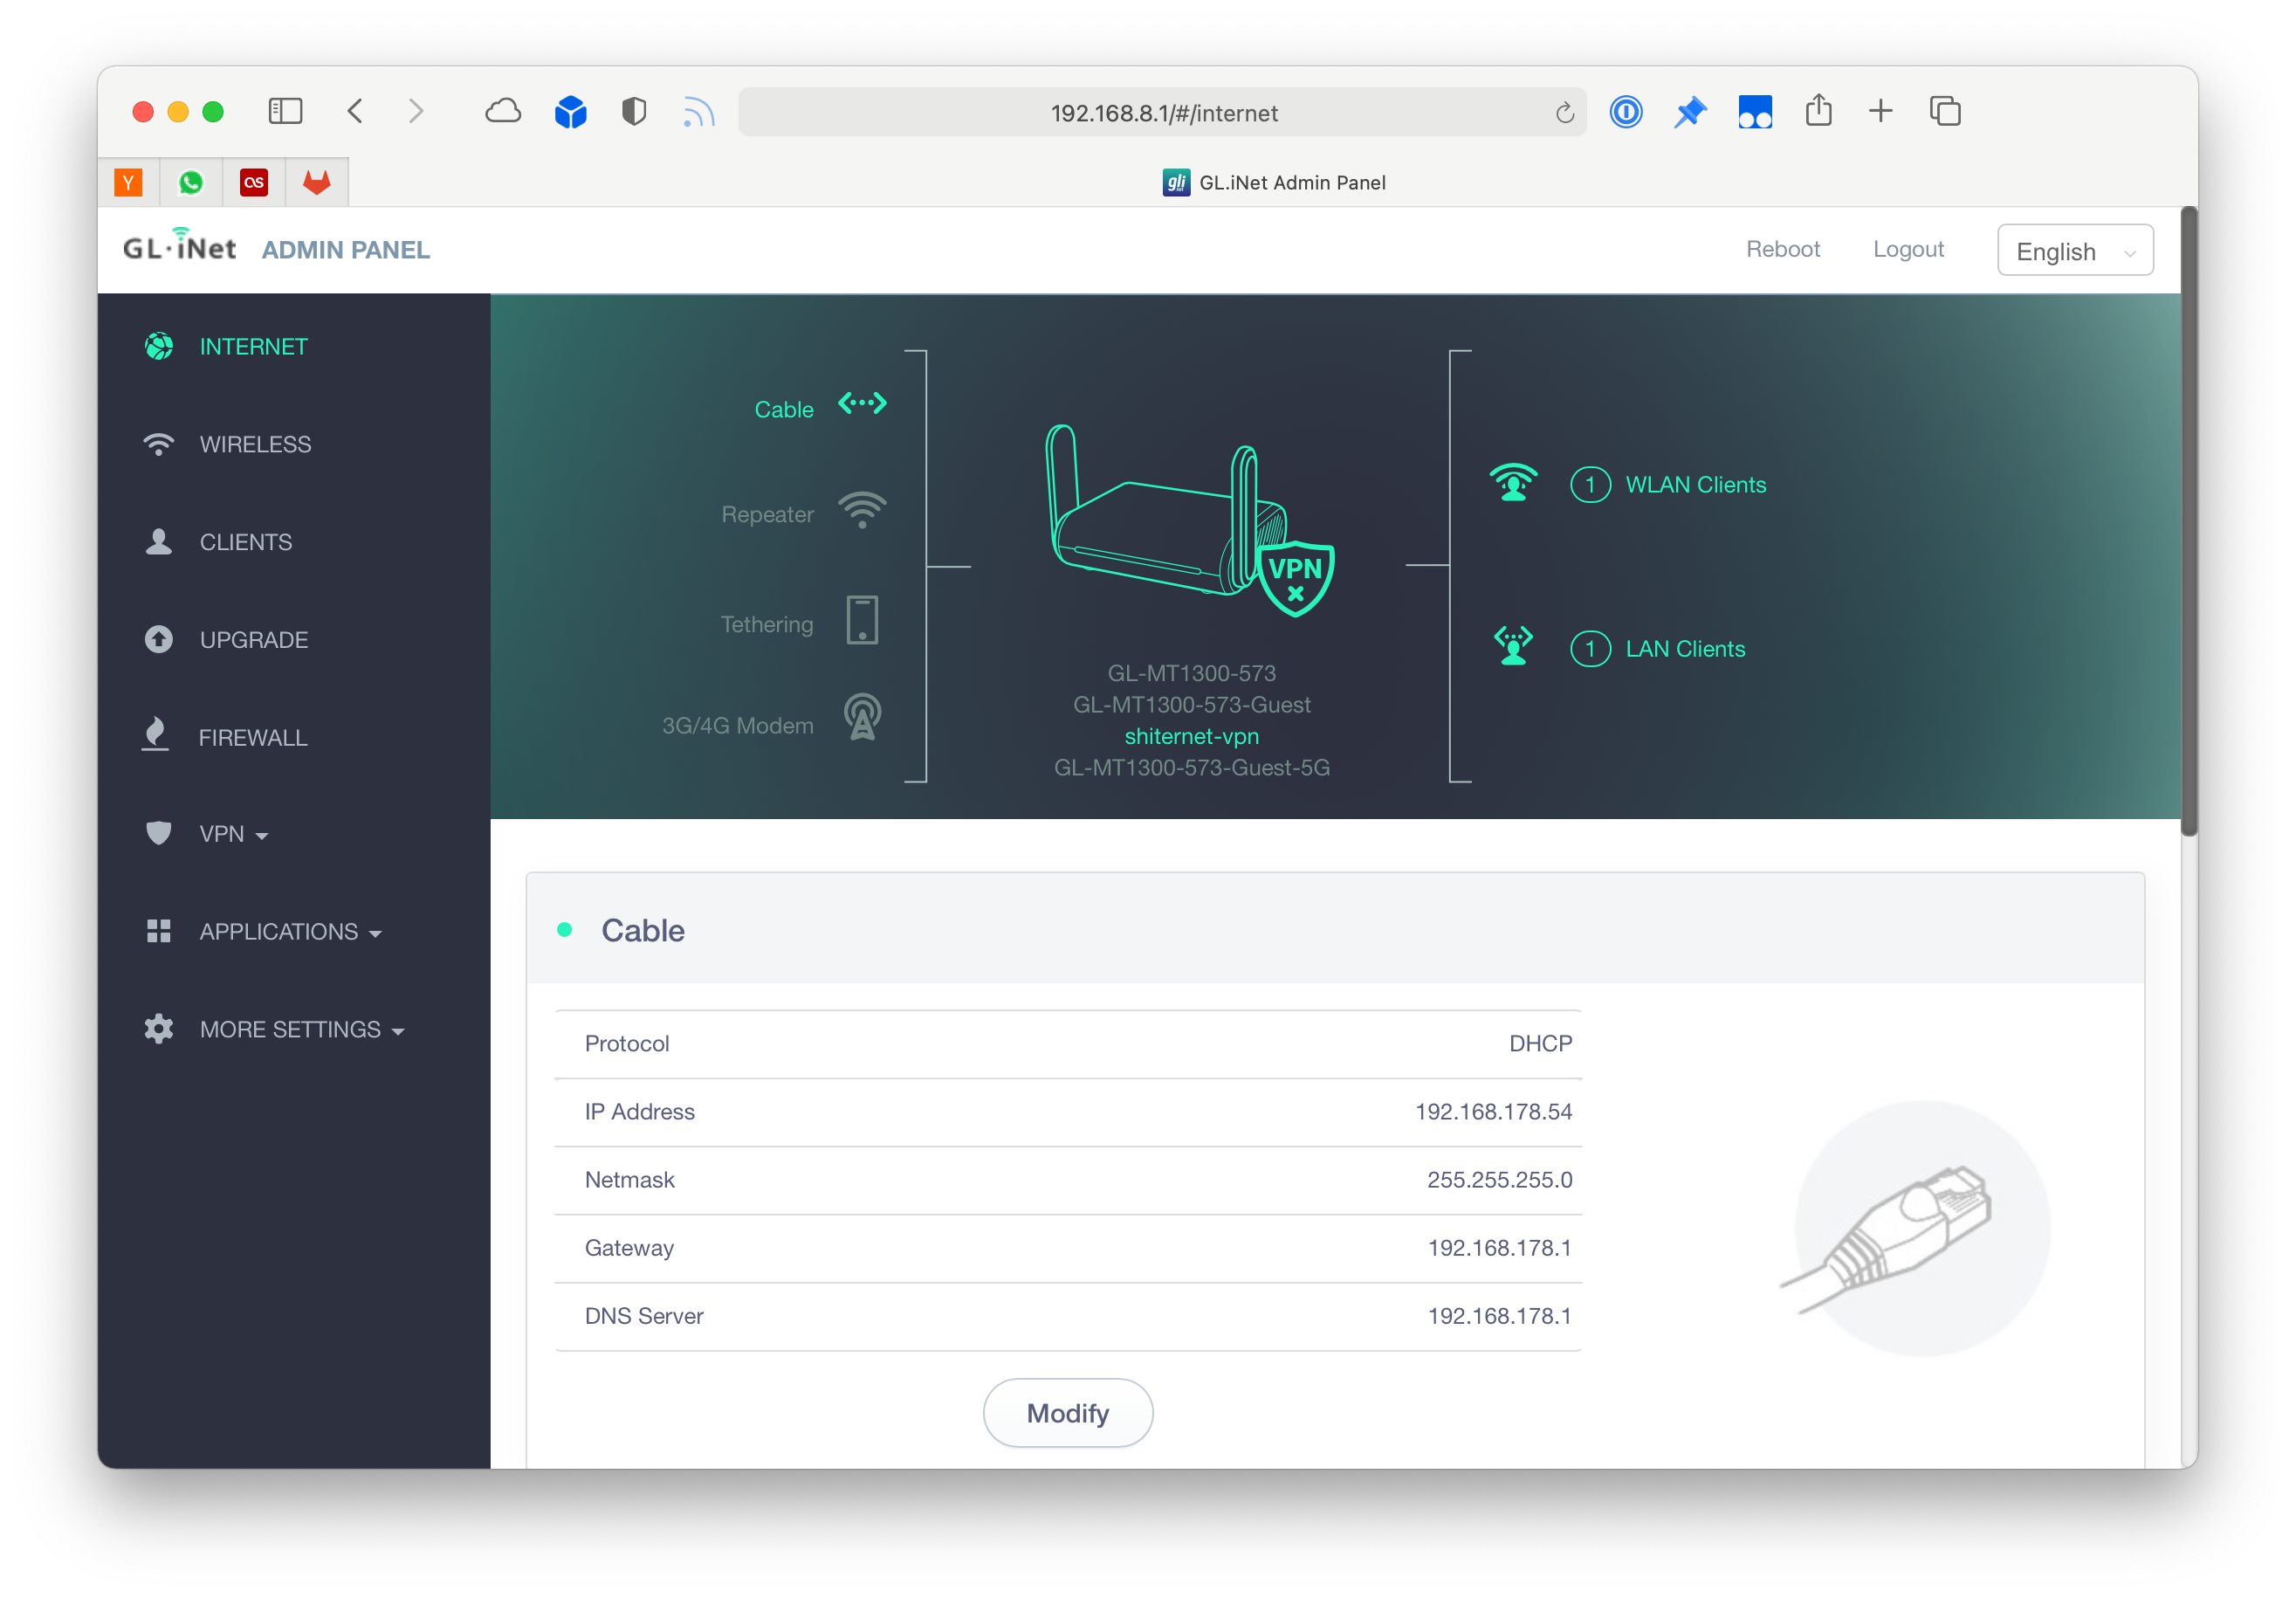
Once you are connected to the WiFi open the web interface available on http://192.168.8.1 and start configuring the router. Everything is mostly self-explanatory.
Features
The full overview with hardware specs can be found on GL-iNet's website. This is a brief overview covering the features I used so far.
Status dashboard
This is the main view where you can see which uplink is used, which WiFi SSIDs are active and how many clients are connected. In my case you can see that out of the four networks that are available only one is enabled. I currently don't have a use case for the guest network (With captive portal) or 2.4GHz networks.
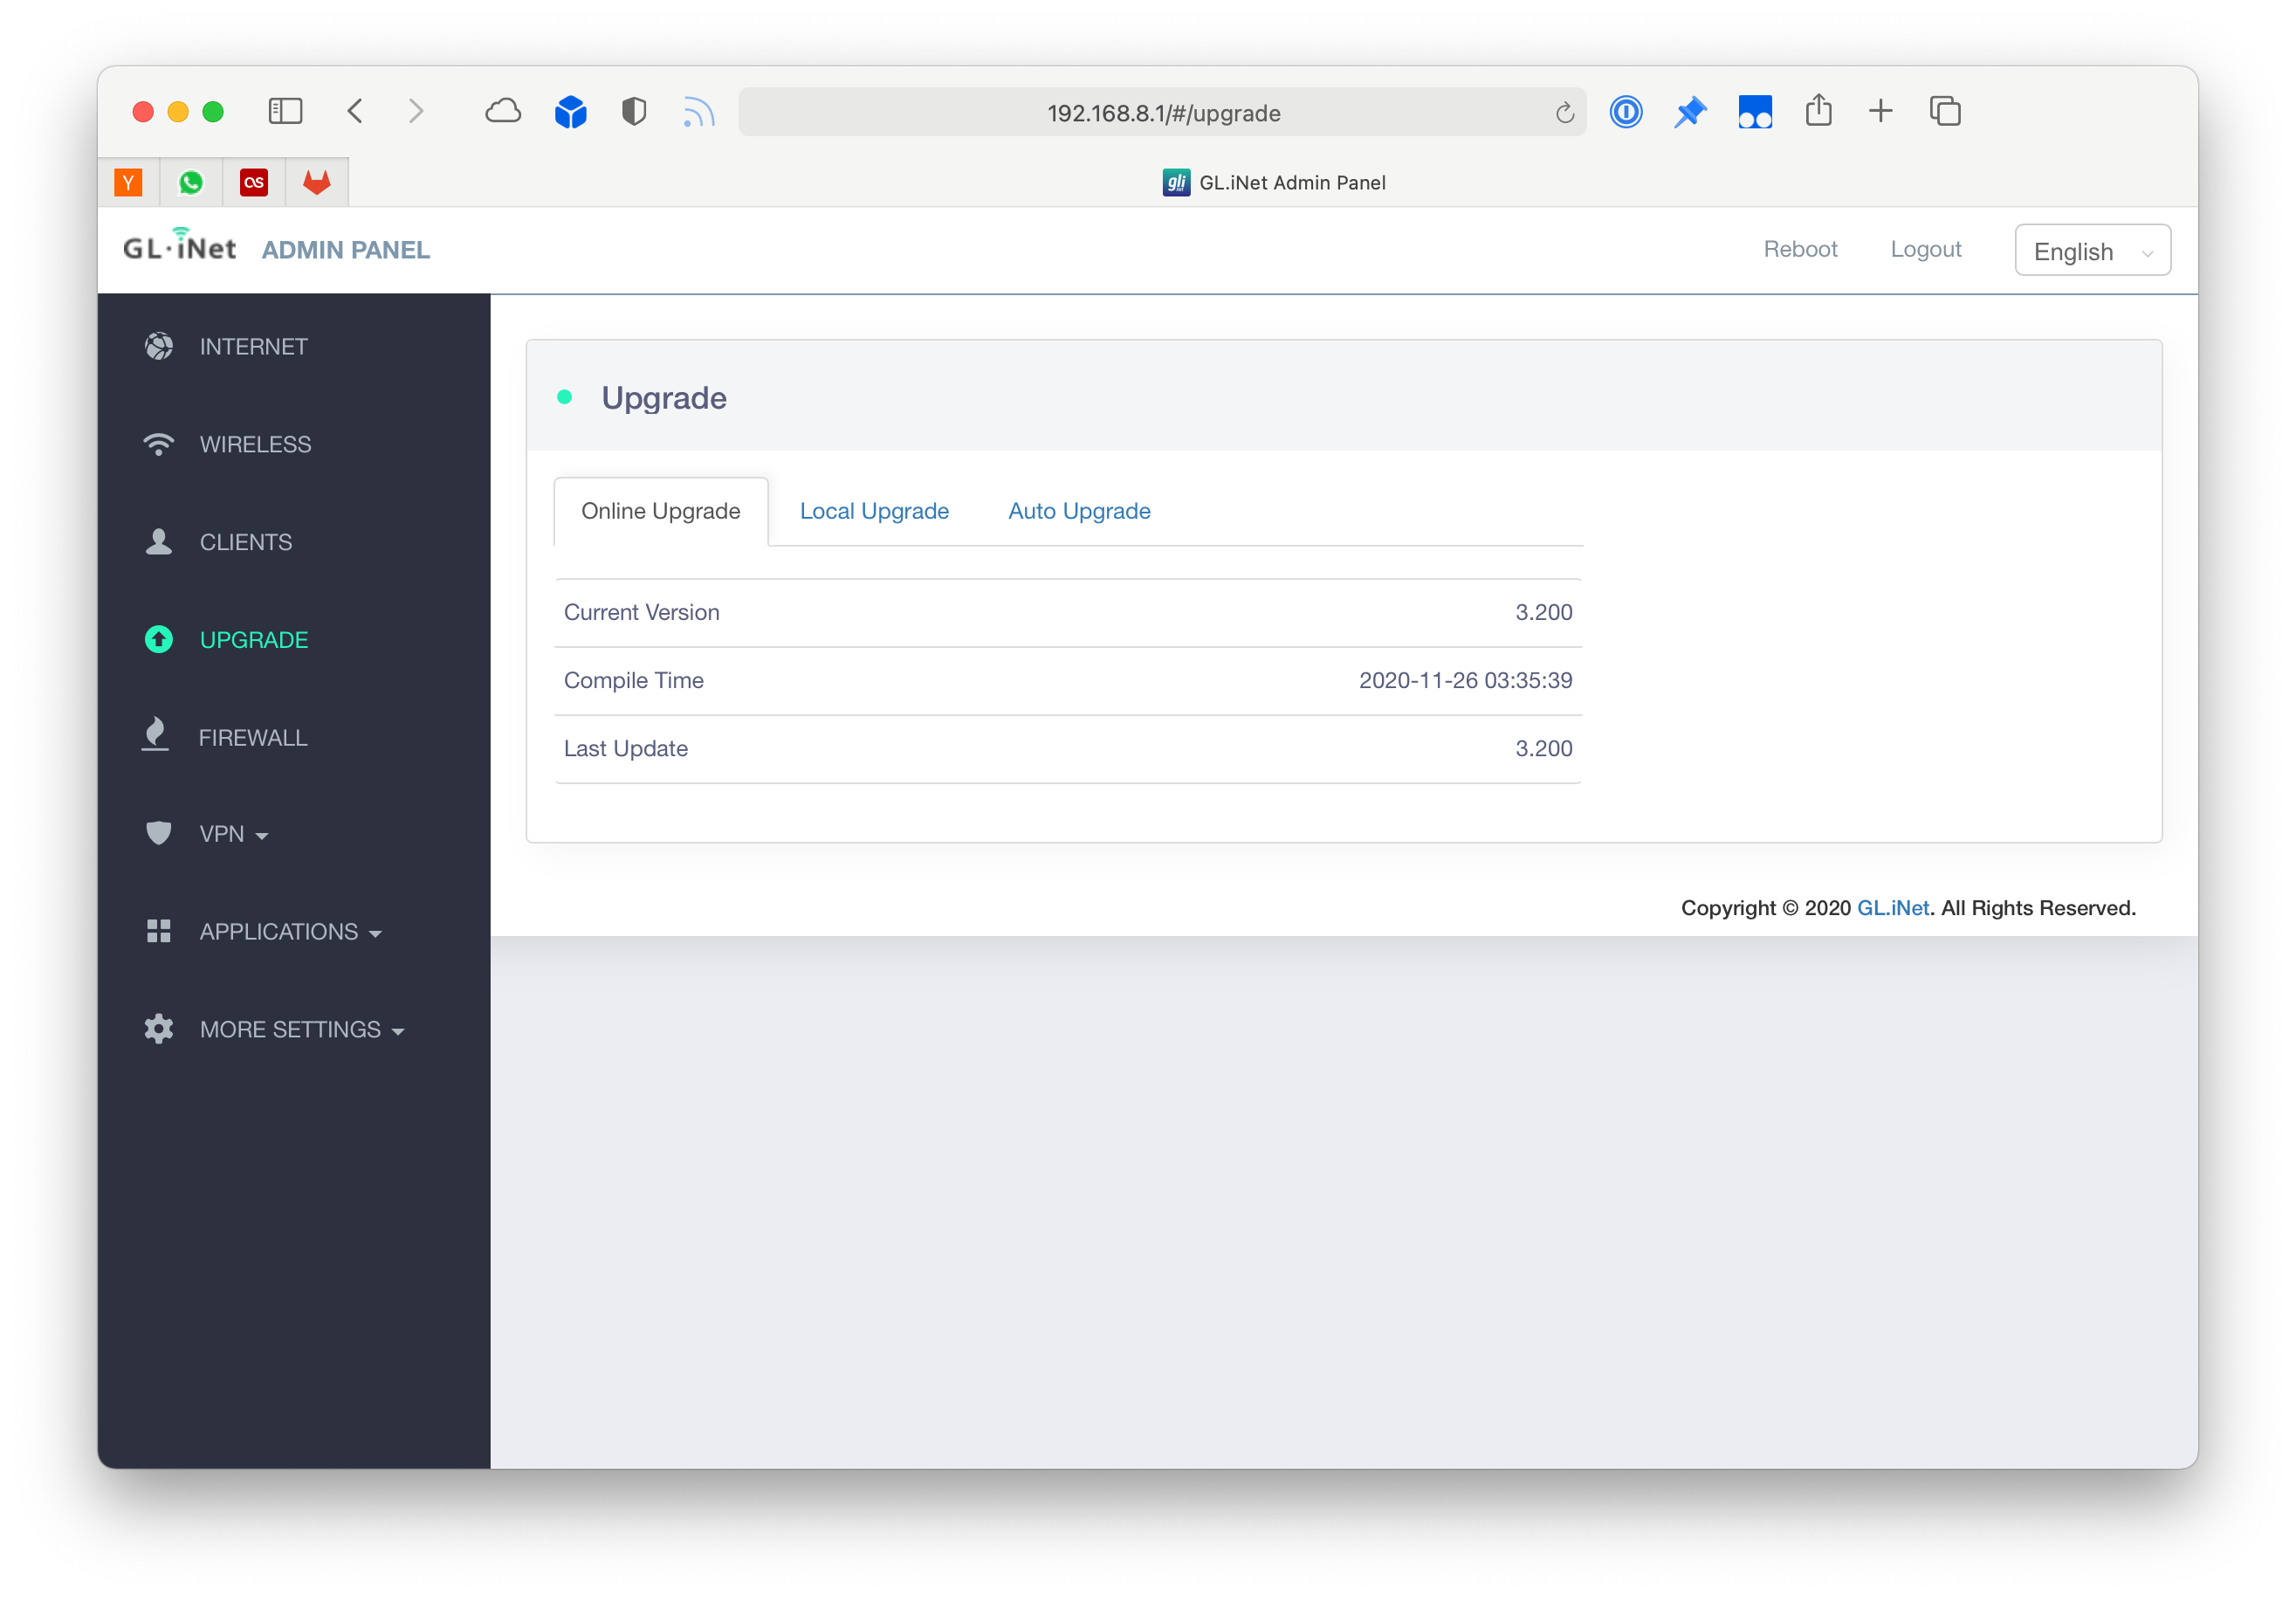
Easy one-click updates
This is the main reason why I got a ready-made solution and am not using a home-brew Raspberry Pi version where I have to keep dependencies updated, resolve issues and edit configs.
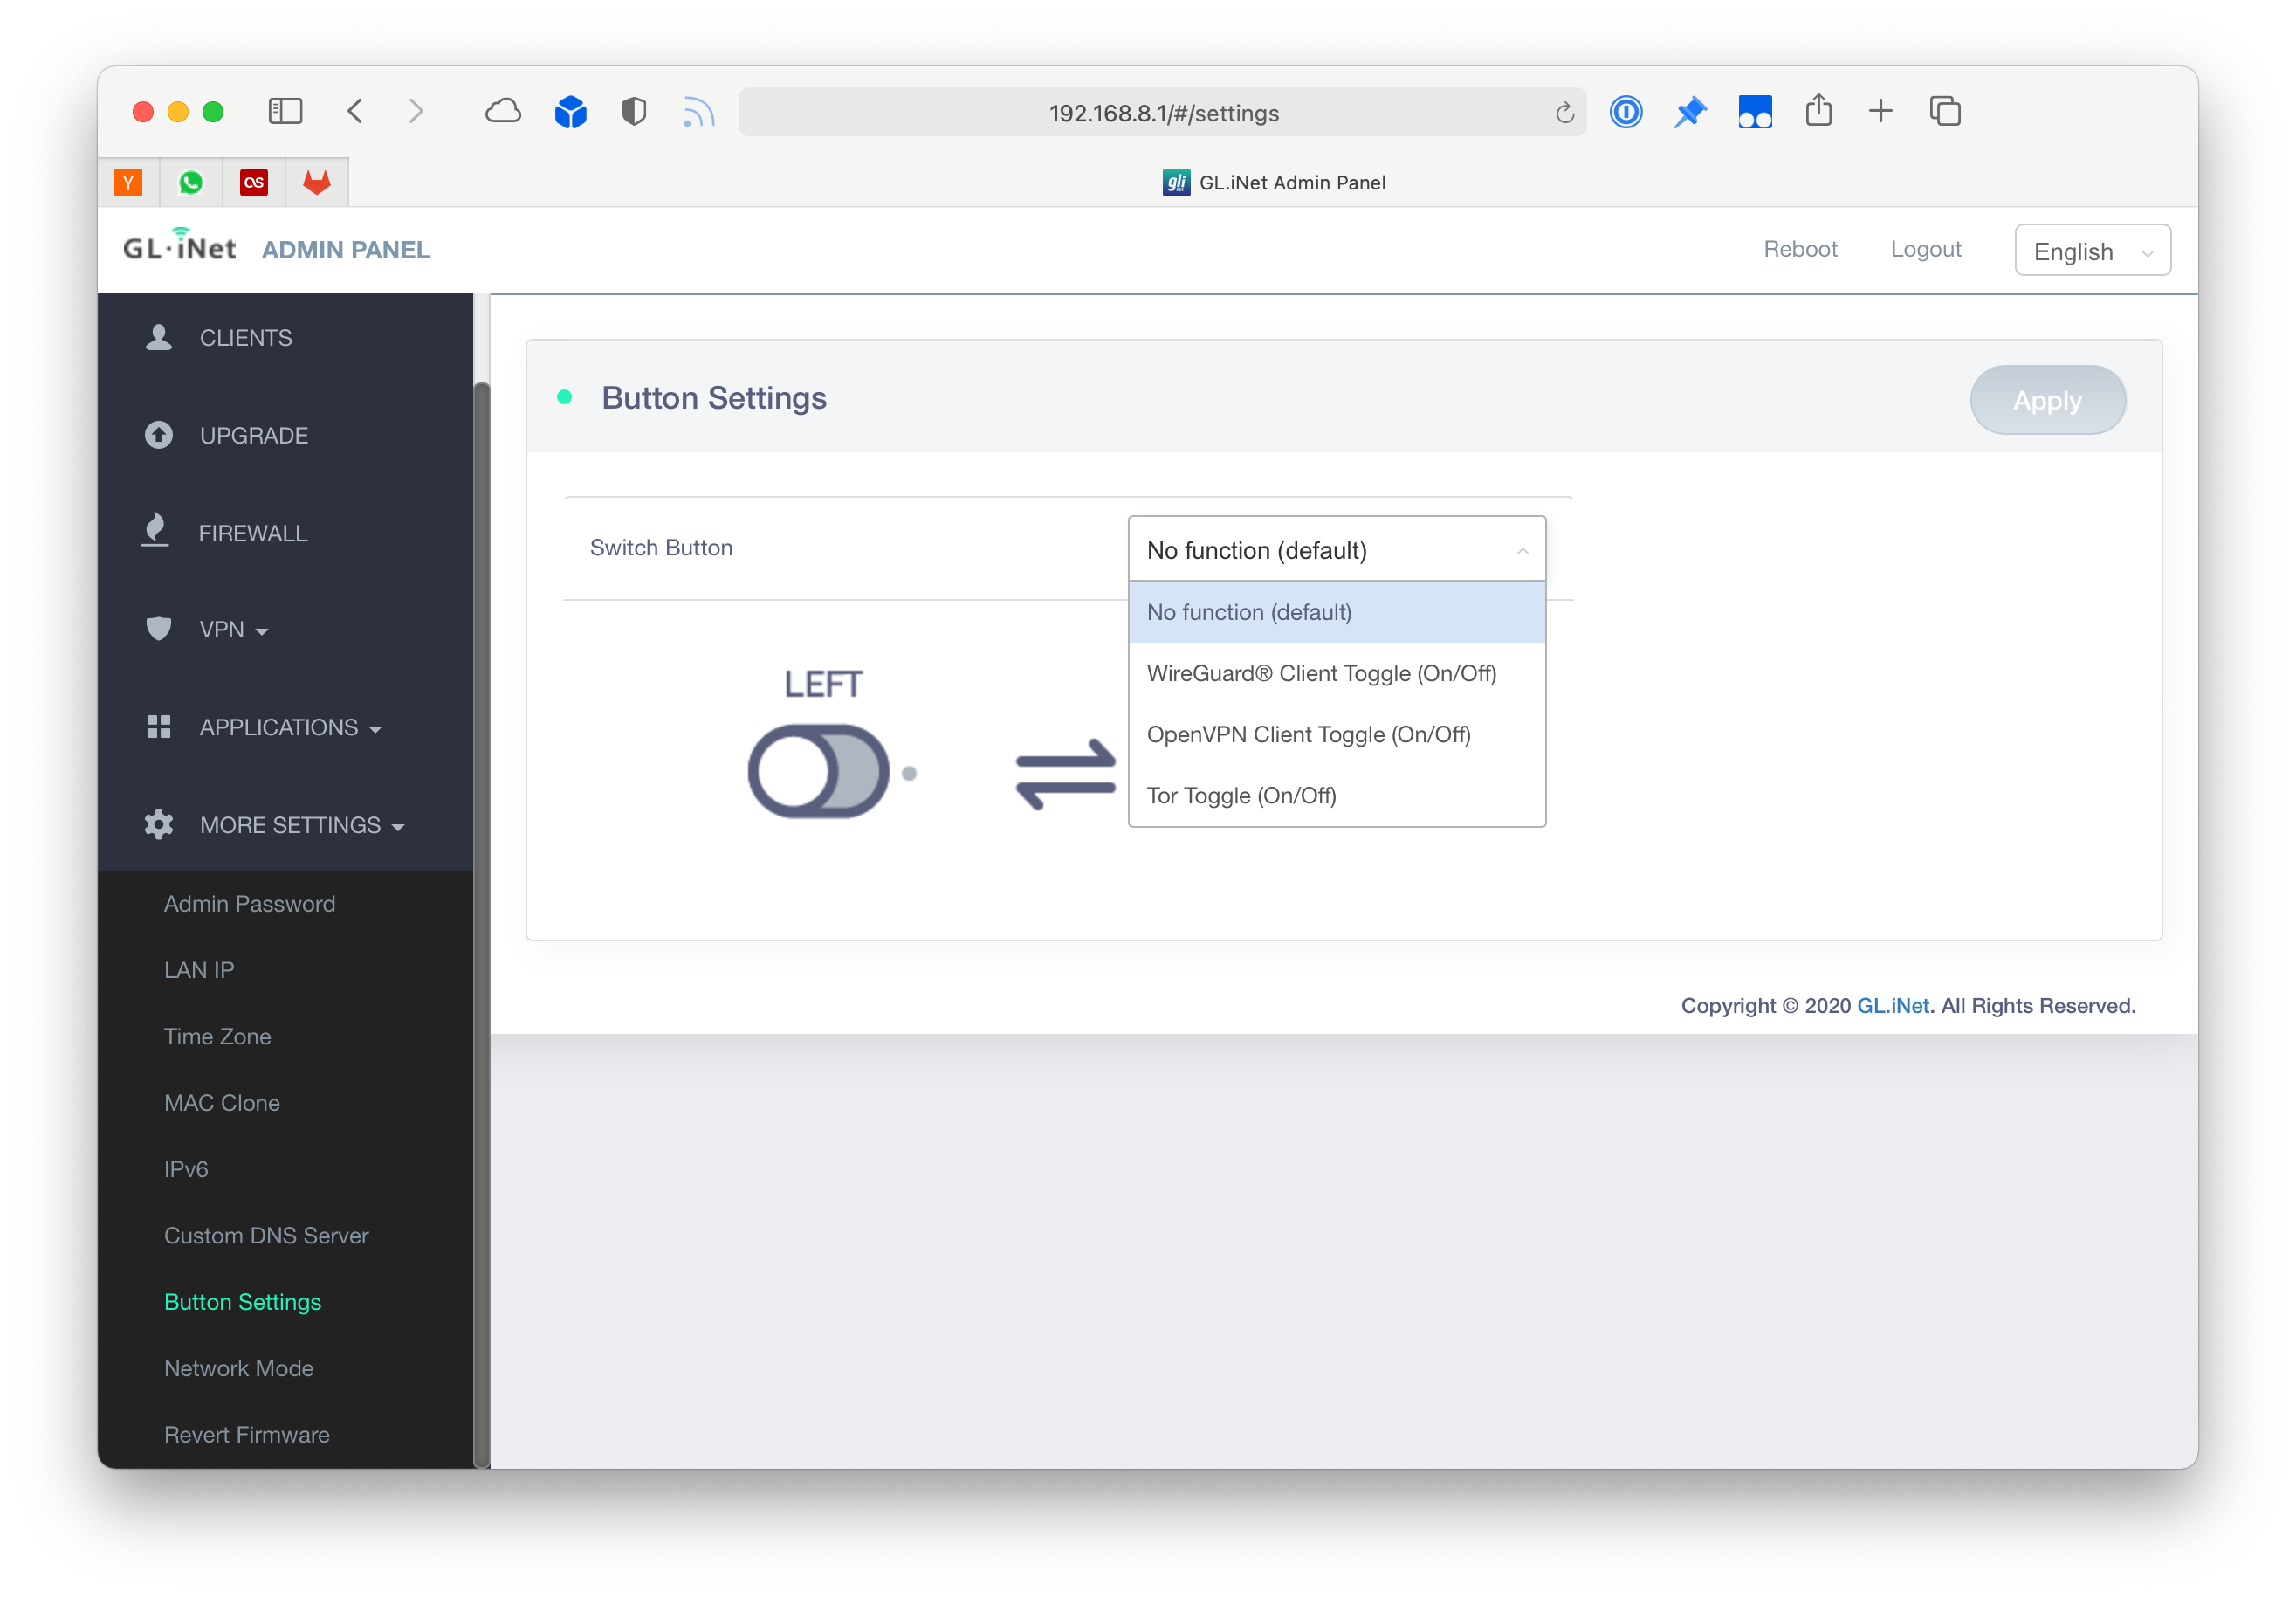
Using the hardware buttons
The router has a small hardware button where frequently used actions can be toggled without visiting the web interface. You can define which one with a single click through the interface:
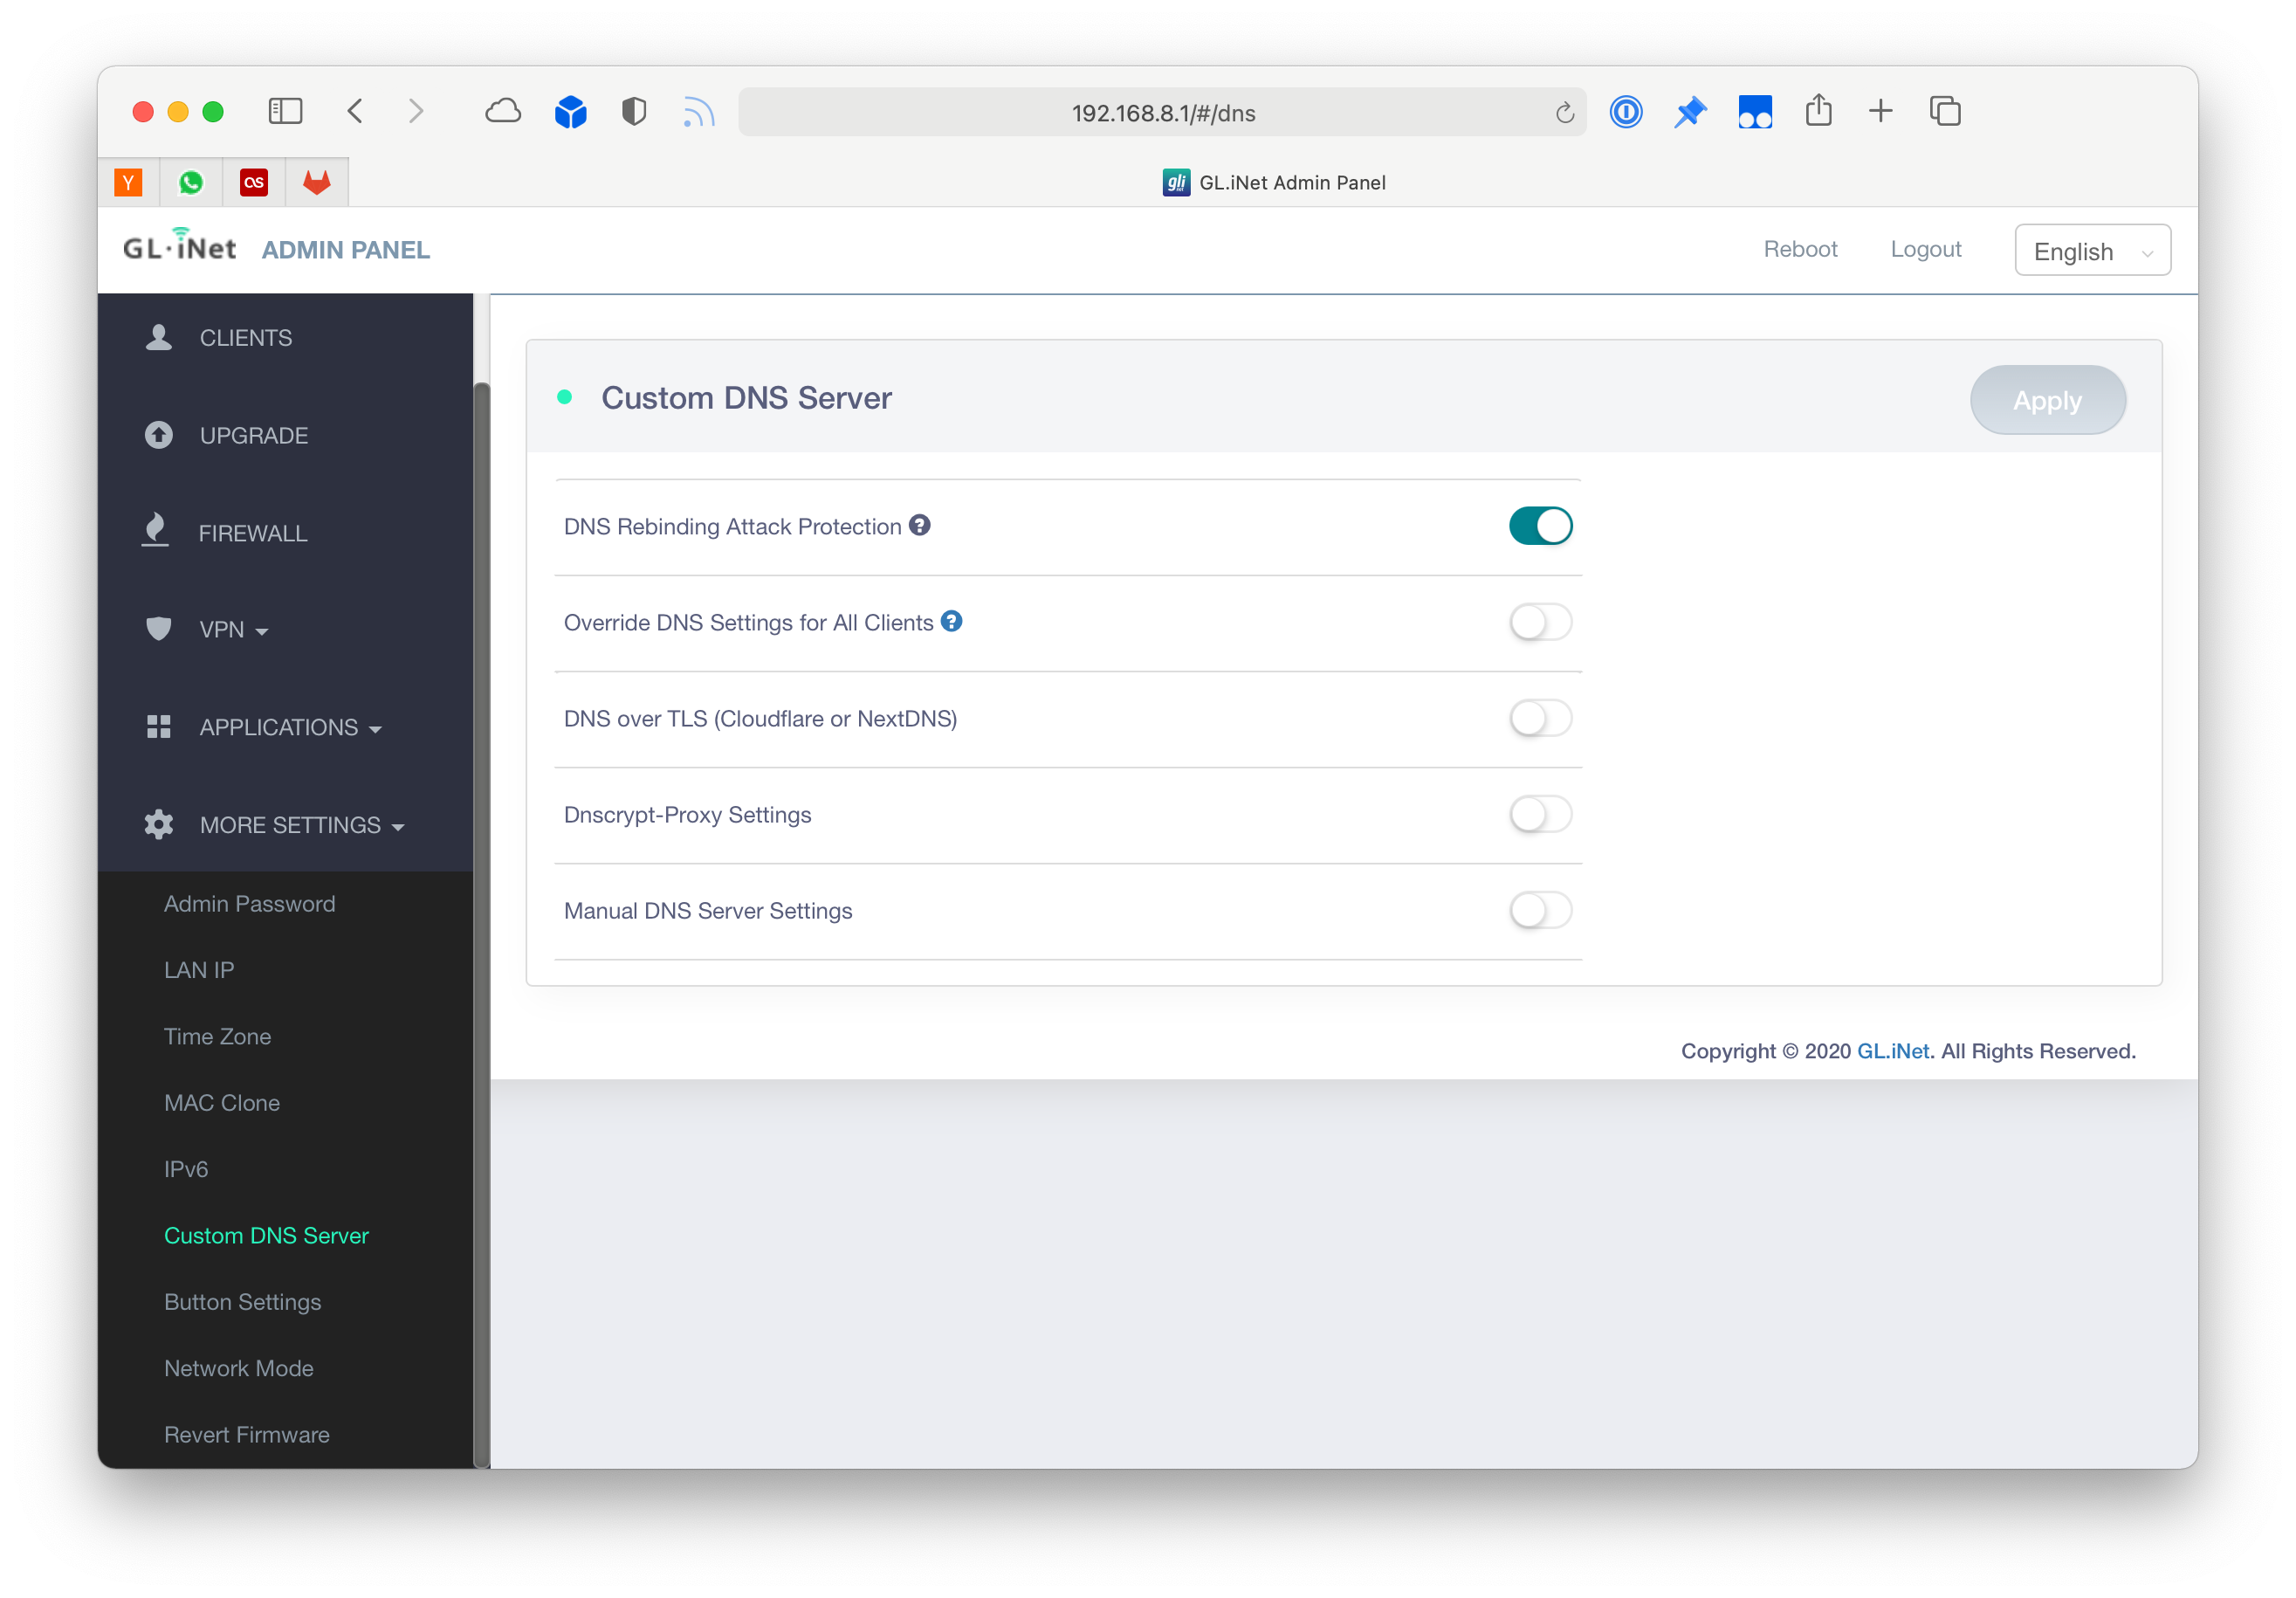
Custom DNS servers
I use NextDNS on all my devices for ad-blocking and tracking prevention directly on the network level. It's like Pi-hole without the fiddling. Setting this up for all devices connected to the Beryl is also just one click.
Note: If you haven't used NextDNS you should give it a try. Read their Privacy Policy while you are at it, it's very brief: NextDNS Privacy Policy
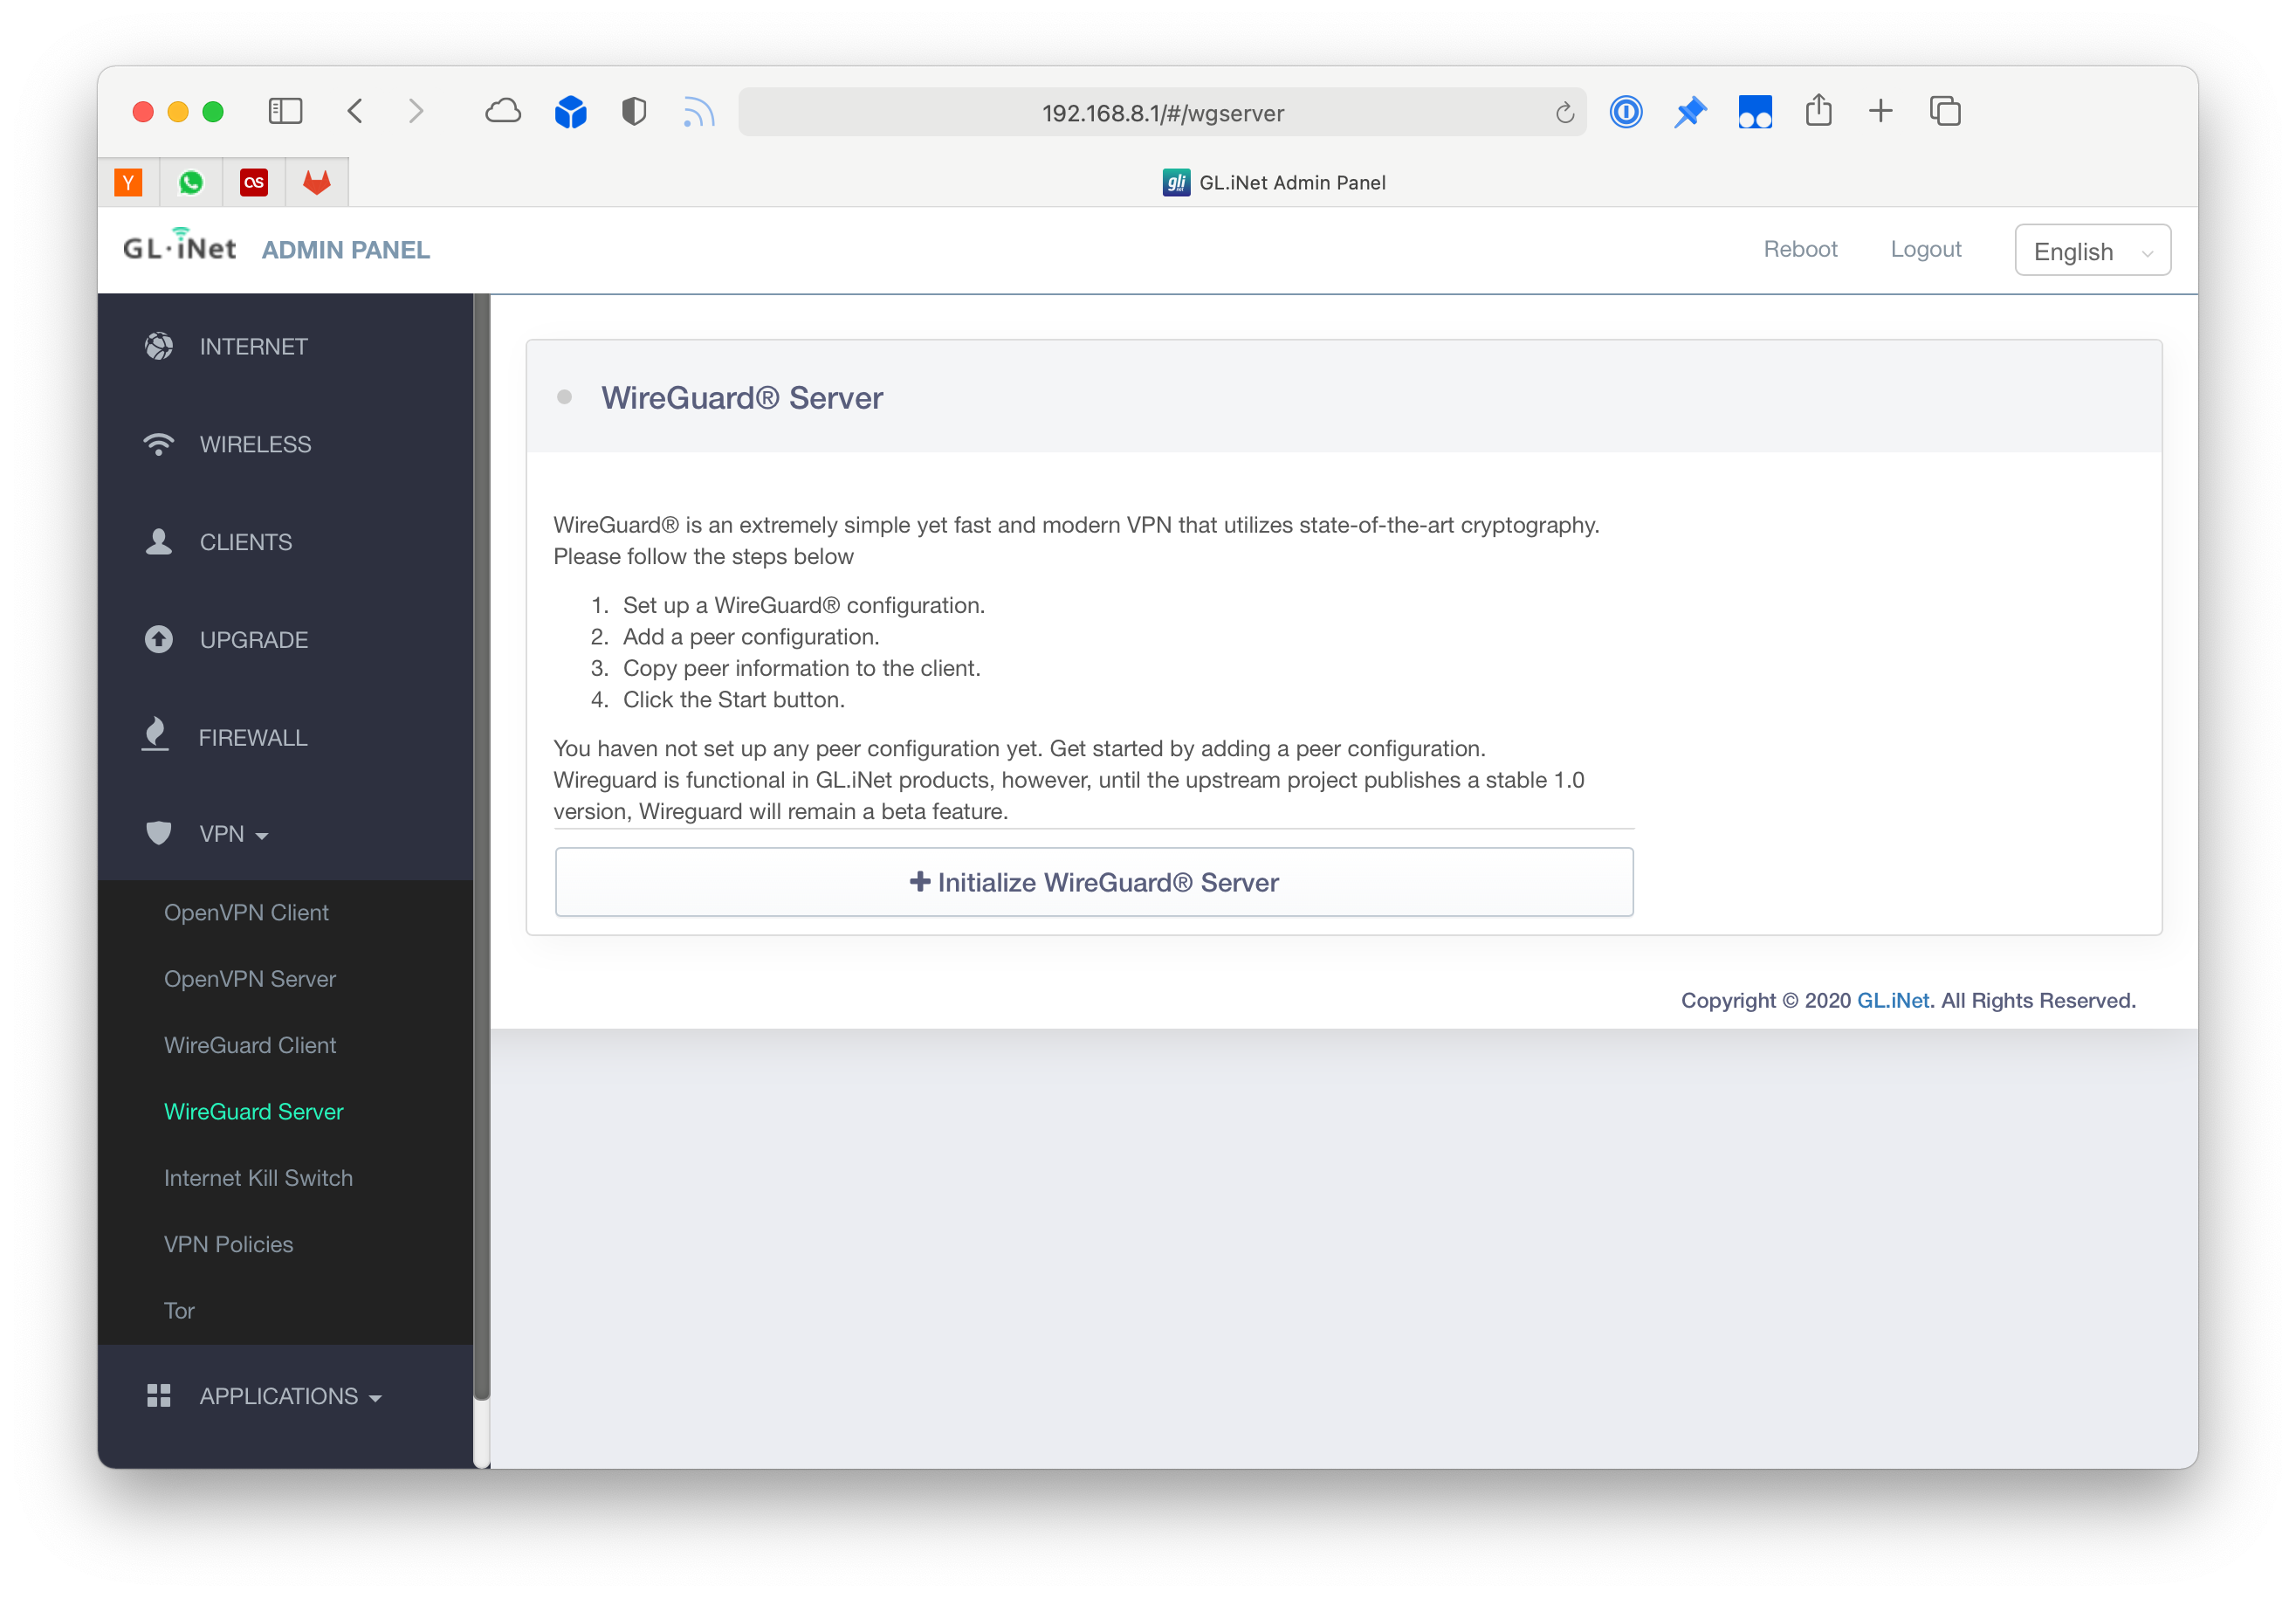
WireGuard Server
Probably the easiest way to set up a WireGuard server and you don't even have to do iptables gymnastics.
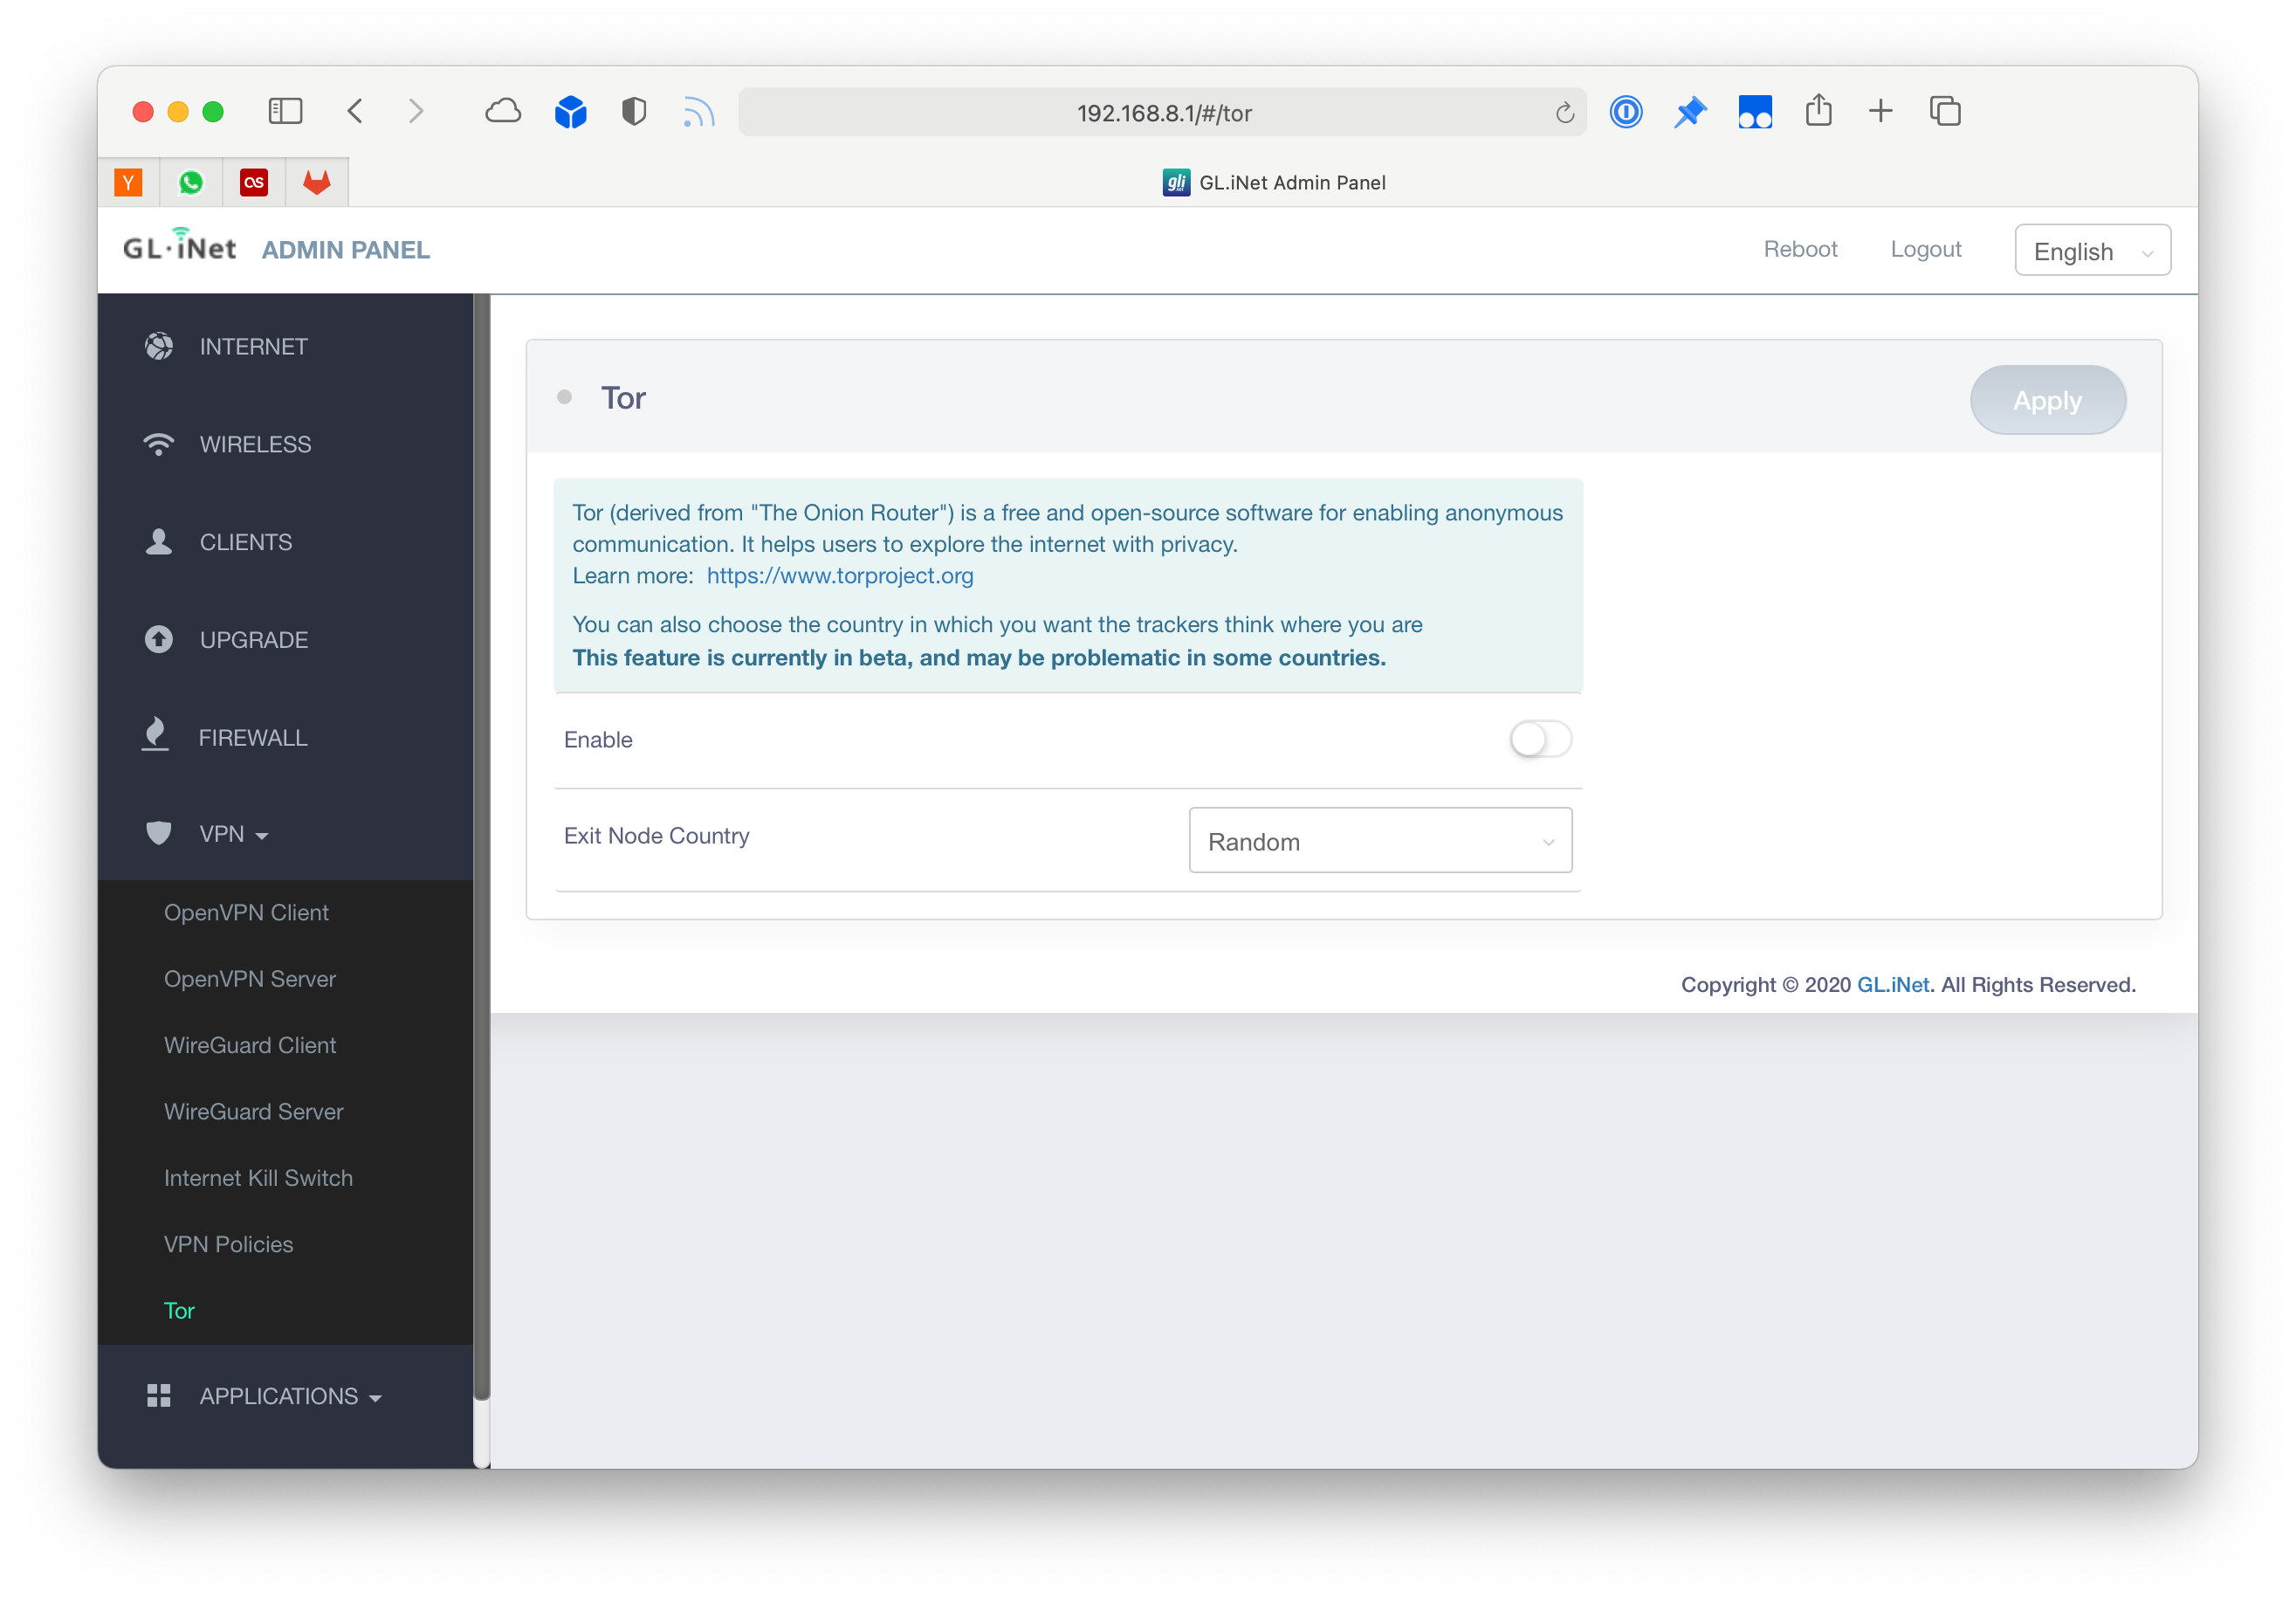
Tor
Now you can order from the dark net just by connecting to your own Tor WiFi. Neat, I guess?
VPN Client
This is the feature I bought the device for, you can just import your WireGuard or OpenVPN profiles and connect. Then if enabled all traffic going through the Beryl will get passed through the VPN.
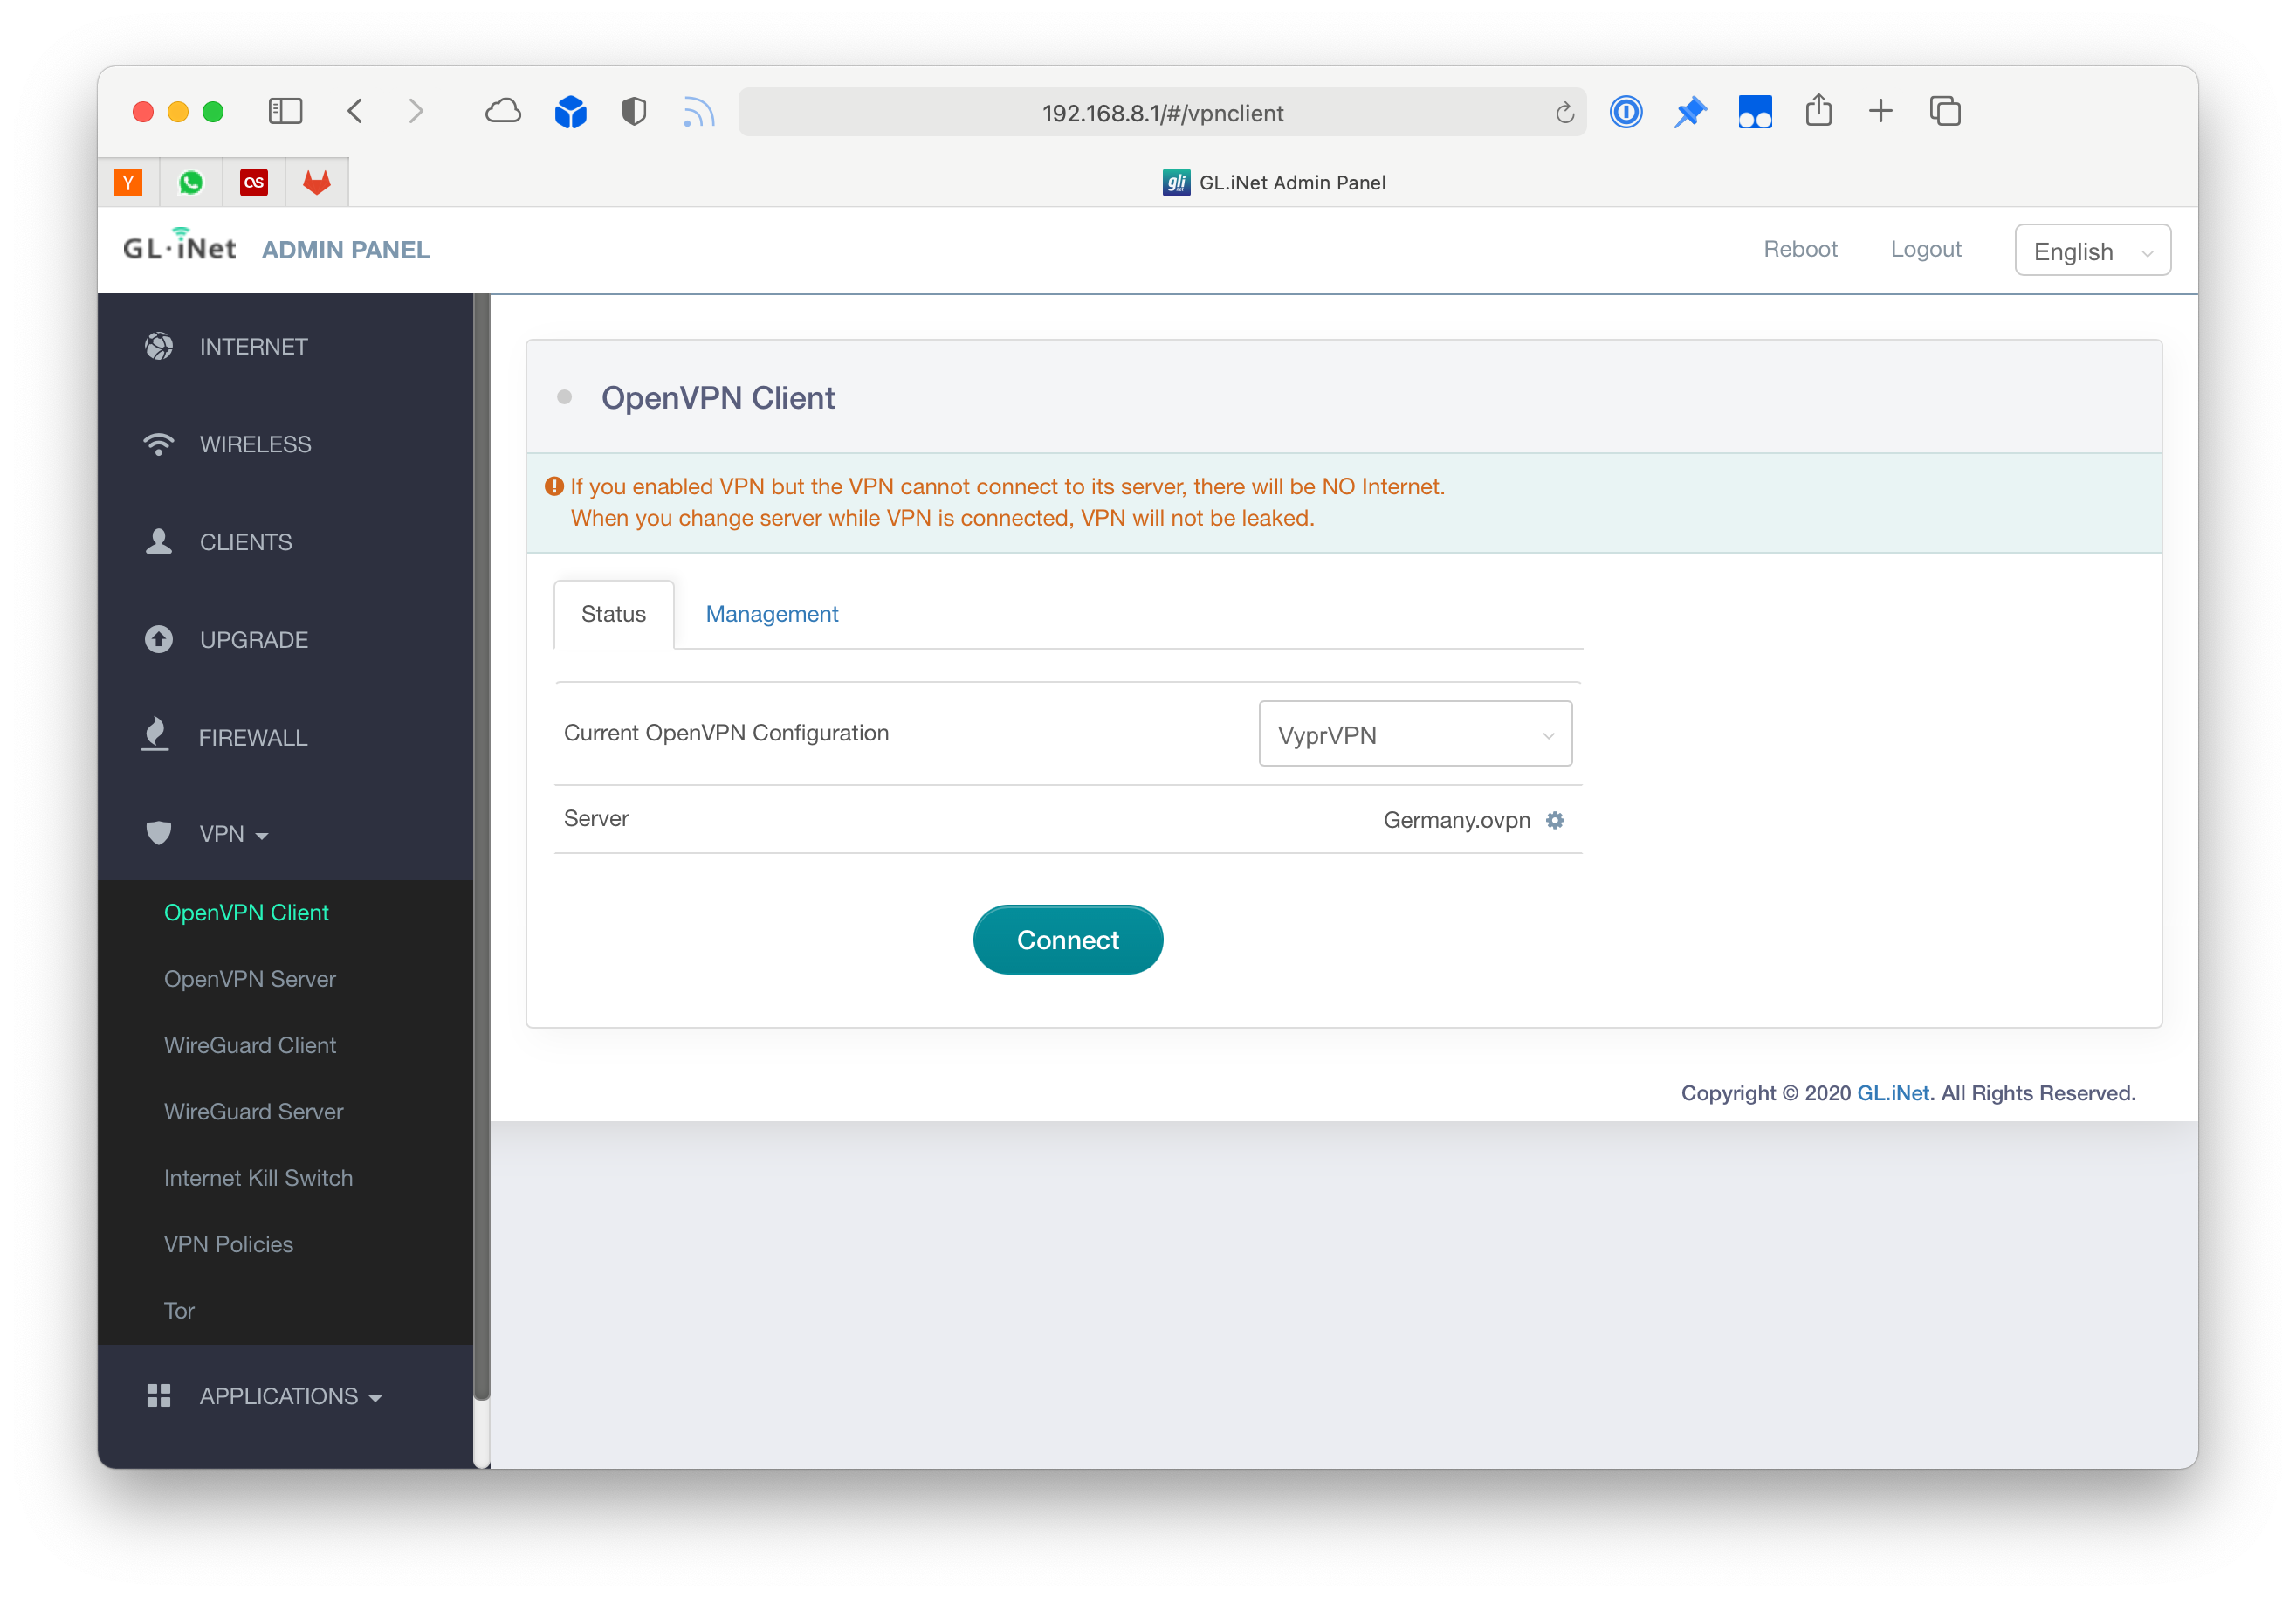
So far this works very well for me. If you have any questions feel free to reach out on Twitter.