Using my iPad for Microsoft Flight Simulator navigation
Published on Jul 29, 2024
A few years ago I bought an Xbox to play Microsoft Flight Simulator (MSFS), after not so much time I realized that the experience on Xbox is okay to fly around and see places, but all the fun mods or plugins weren't available due to the closed nature of the console.
One of the bigger issues I always had on the console was navigation and not having a mouse cursor additionally to the regular flight controls (Joystick). I sometimes ended up with Google Maps on the iPad while trying to keep it manually in sync while flying. Needless to say that this didn't work very well.
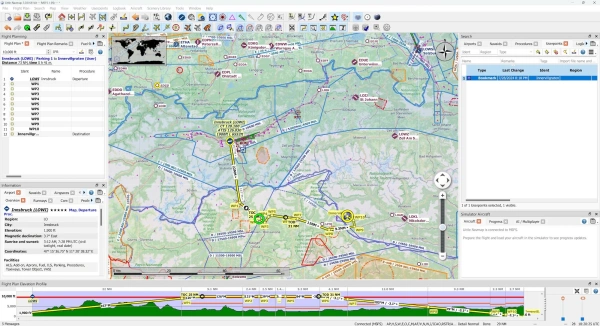
I recently assembled a PC with Windows 11, partly for that purpose, and installed MSFS. Going through the community forums I quickly noticed that many people mentioned a software called "Little Navmap", which is a free software to create flight plans.
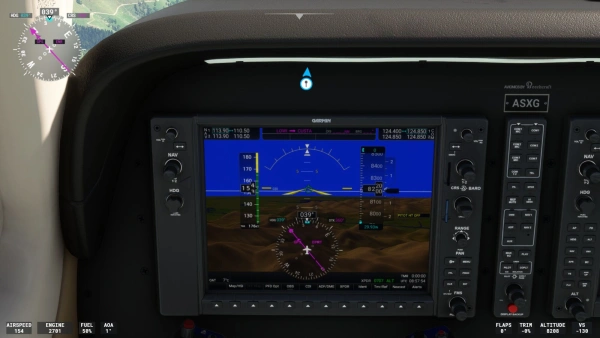
At the beginning I was a bit overwhelmed by the documentation but then quickly realized that it basically works out of the box without any adjustments. I followed the instructions to set up my first flight plan and then connected the flight simulator. In MSFS I was able to just import the flight plan while on the world map view and the flight plan showed up in the plane just like I would've set everything up directly in MSFS. While flying, the position on the map in Navmap even updated in real time. It did feel a bit magic to have something hook into the simulator that easily.
That would already be great and a massive improvement over the previous setup, but that meant I always had to switch between MSFS and Navmap to see the flight plan in more detail than on the instrument panel as I didn't have a second screen.
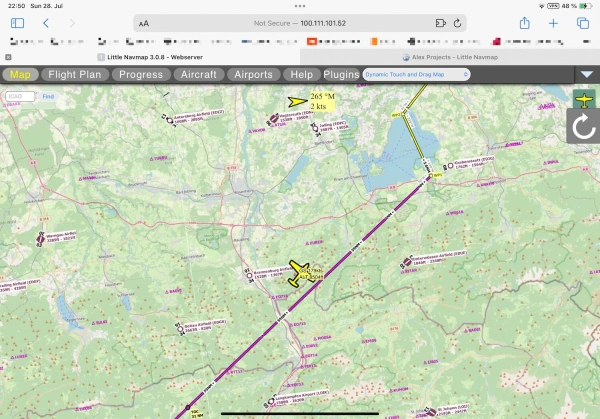
This is where another amazing feature of Navmap comes in: It can run its own web server where it exposes the live flight plan view as a lightweight web interface. That means that I could use another device to access the IP of my PC on the Navmap port and follow the flight plan that way.
I quickly set up Tailscale on the PC so I don't have to look up the IP address in case it changed, and just like that I was able to access the web interface from my iPad.
This is a great example of someone building a very specialized software, with good documentation and actively maintains it for free as an open source project. If you are using it make sure to donate to the project (The QR code method is very fast and convenient).


